Trail Talk: Latourell Fall

Location: Latourell Falls (Corbett, Oregon: The Columbia River Gorge)

Difficulty: Easy-Moderate

Distance: 2.4 Mile Loop (The map on site and several websites listed it at 2.4. When I hiked this with a friend we both recorded on separate tracking systems, Suunto and Garmin, and recorded it at 3 miles)

Elevation: 520 ft

Cost: FREE

Parking: There is small paved lot right at the trail head. There is extra parking across the street as well as extra parking across the bridge (just passed the paved lot), both are off the side of the road.

Directions:

Traveling east on I-84, take Exit #28/Bridal Veil. Sharp right onto Historic Columbia River Highway and travel for 3 miles. The parking lot will be on the left.

Traveling west on I-84, take Exit #35/Ainsworth. Drive 11 miles west on the Historic Columbia River Highway. The parking lot will be on the right side. EXTRA: if you take this exit you will get to drive past the Vista House viewpoint.

Preparation:

  • Water.
  • Shoes/Clothes. This trail can be muddy if it’s just rained so bring shoes with good traction that you are ready to get dirty.
  • Sunscreen. Its a good combo of tree covering and open air, its the NW so its often cloudy and overcast but as always sunscreen is always a great idea!
  • Bathroom. There is a small building for restrooms but they are currently closed due to Covid so I wasn’t able to check how decent they were.
  • Dogs. Allowed on leash.
  • Extras: there is a picnic area to rent at Guy Talbot State Park (which has more parking options and an alternate trial head)
  • THIS PARK IS EXPERIENCING MORE THAN NORMAL TRAFFIC WITH THE PANDEMIC, BE READY TO WEAR A MASK MOST OF THE TIME.
Lower Falls – Lower View Point

Experience:

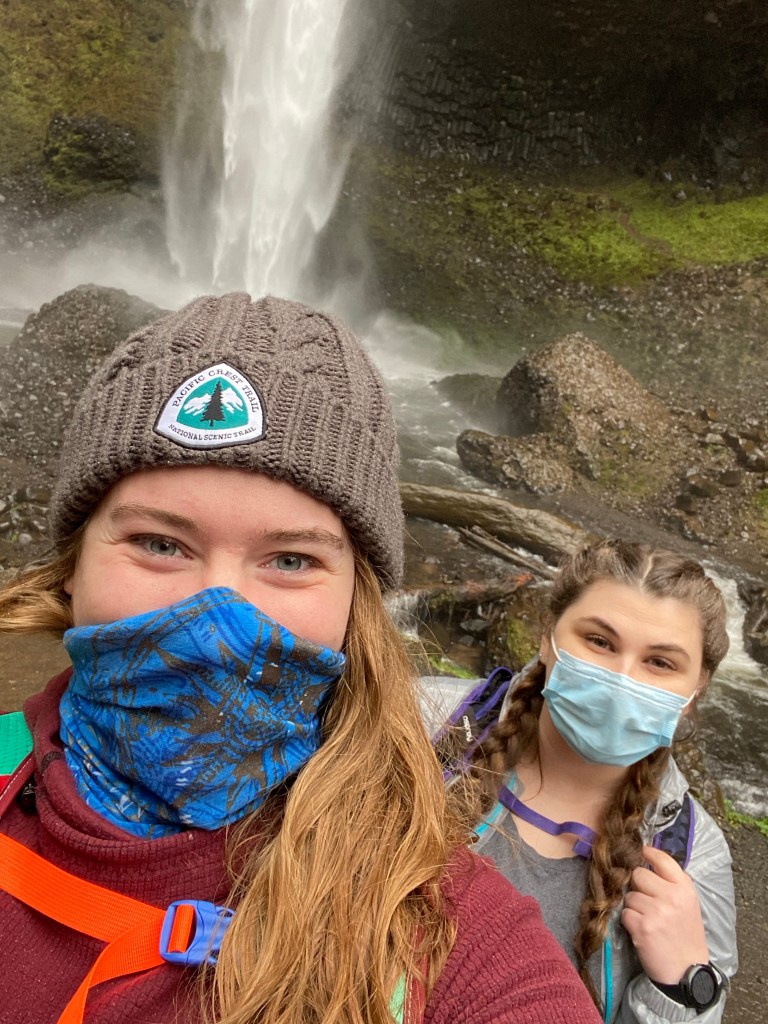
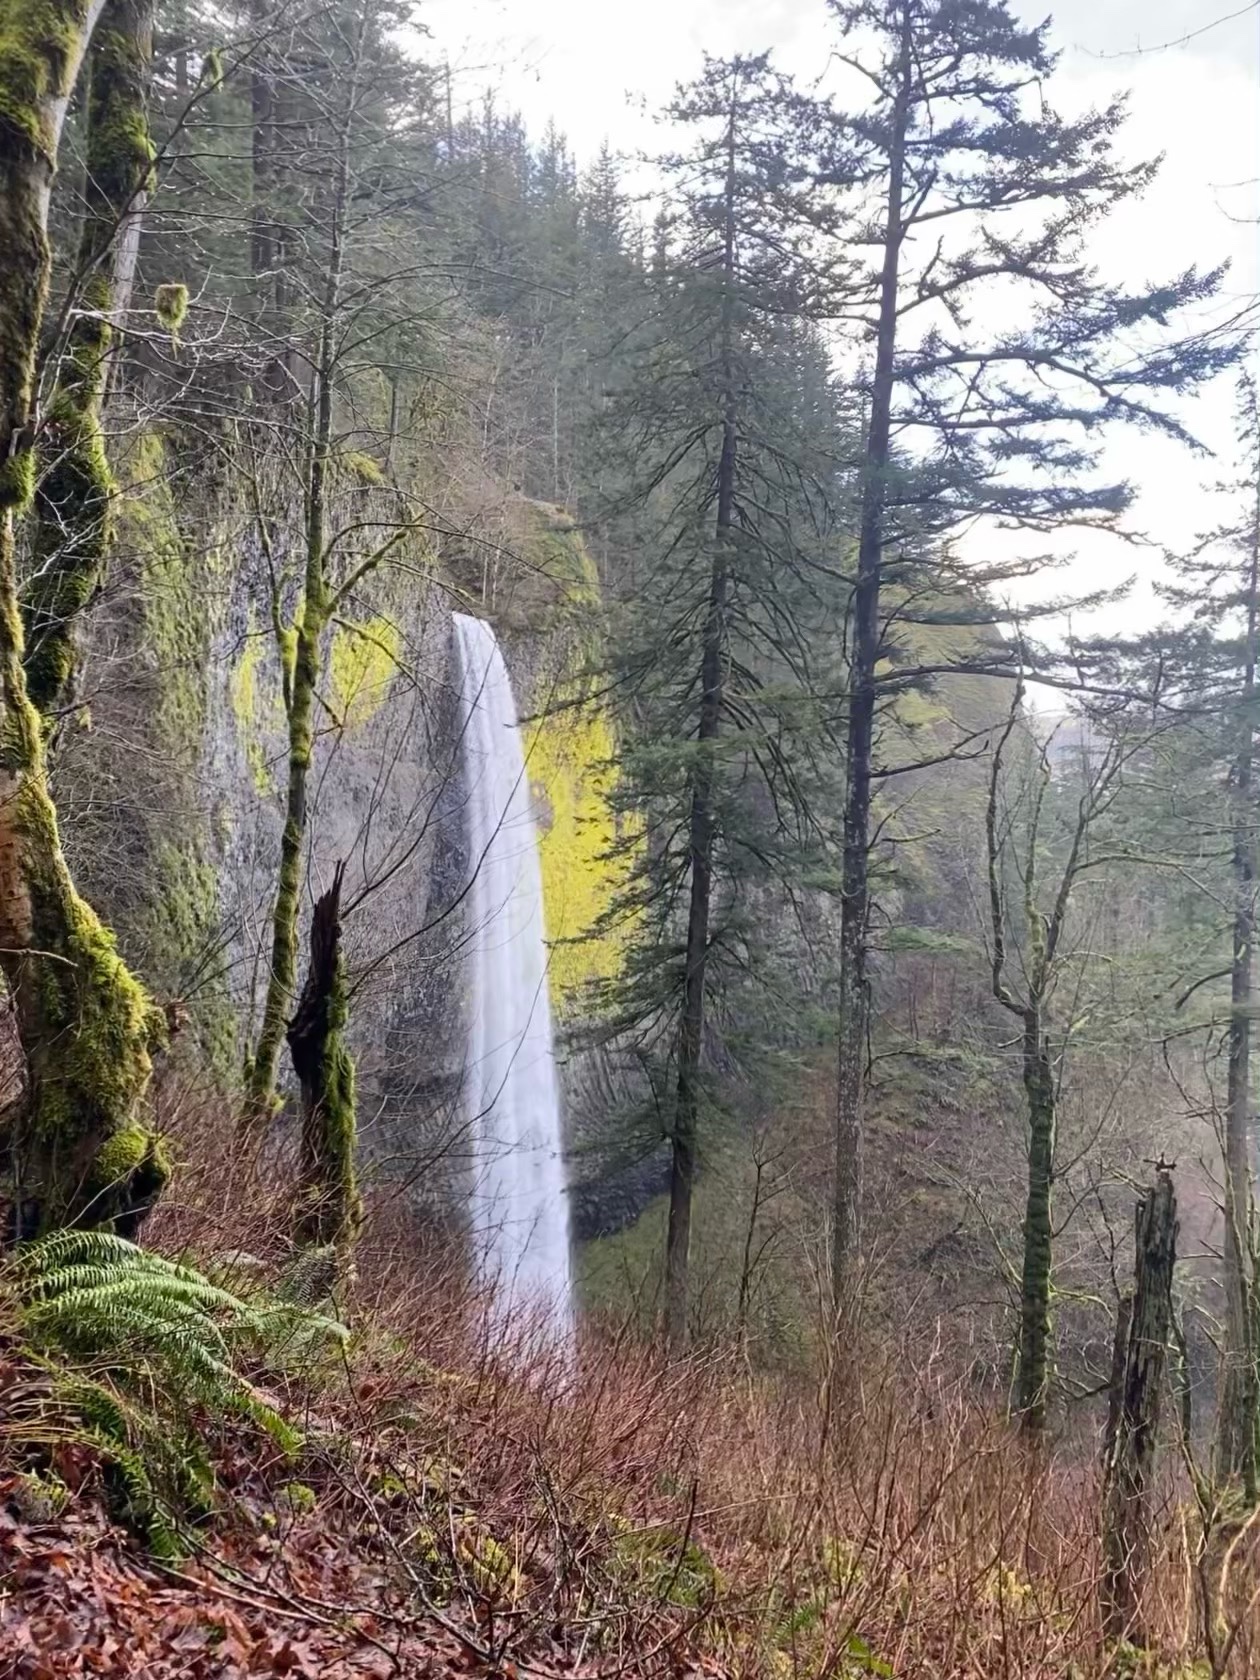
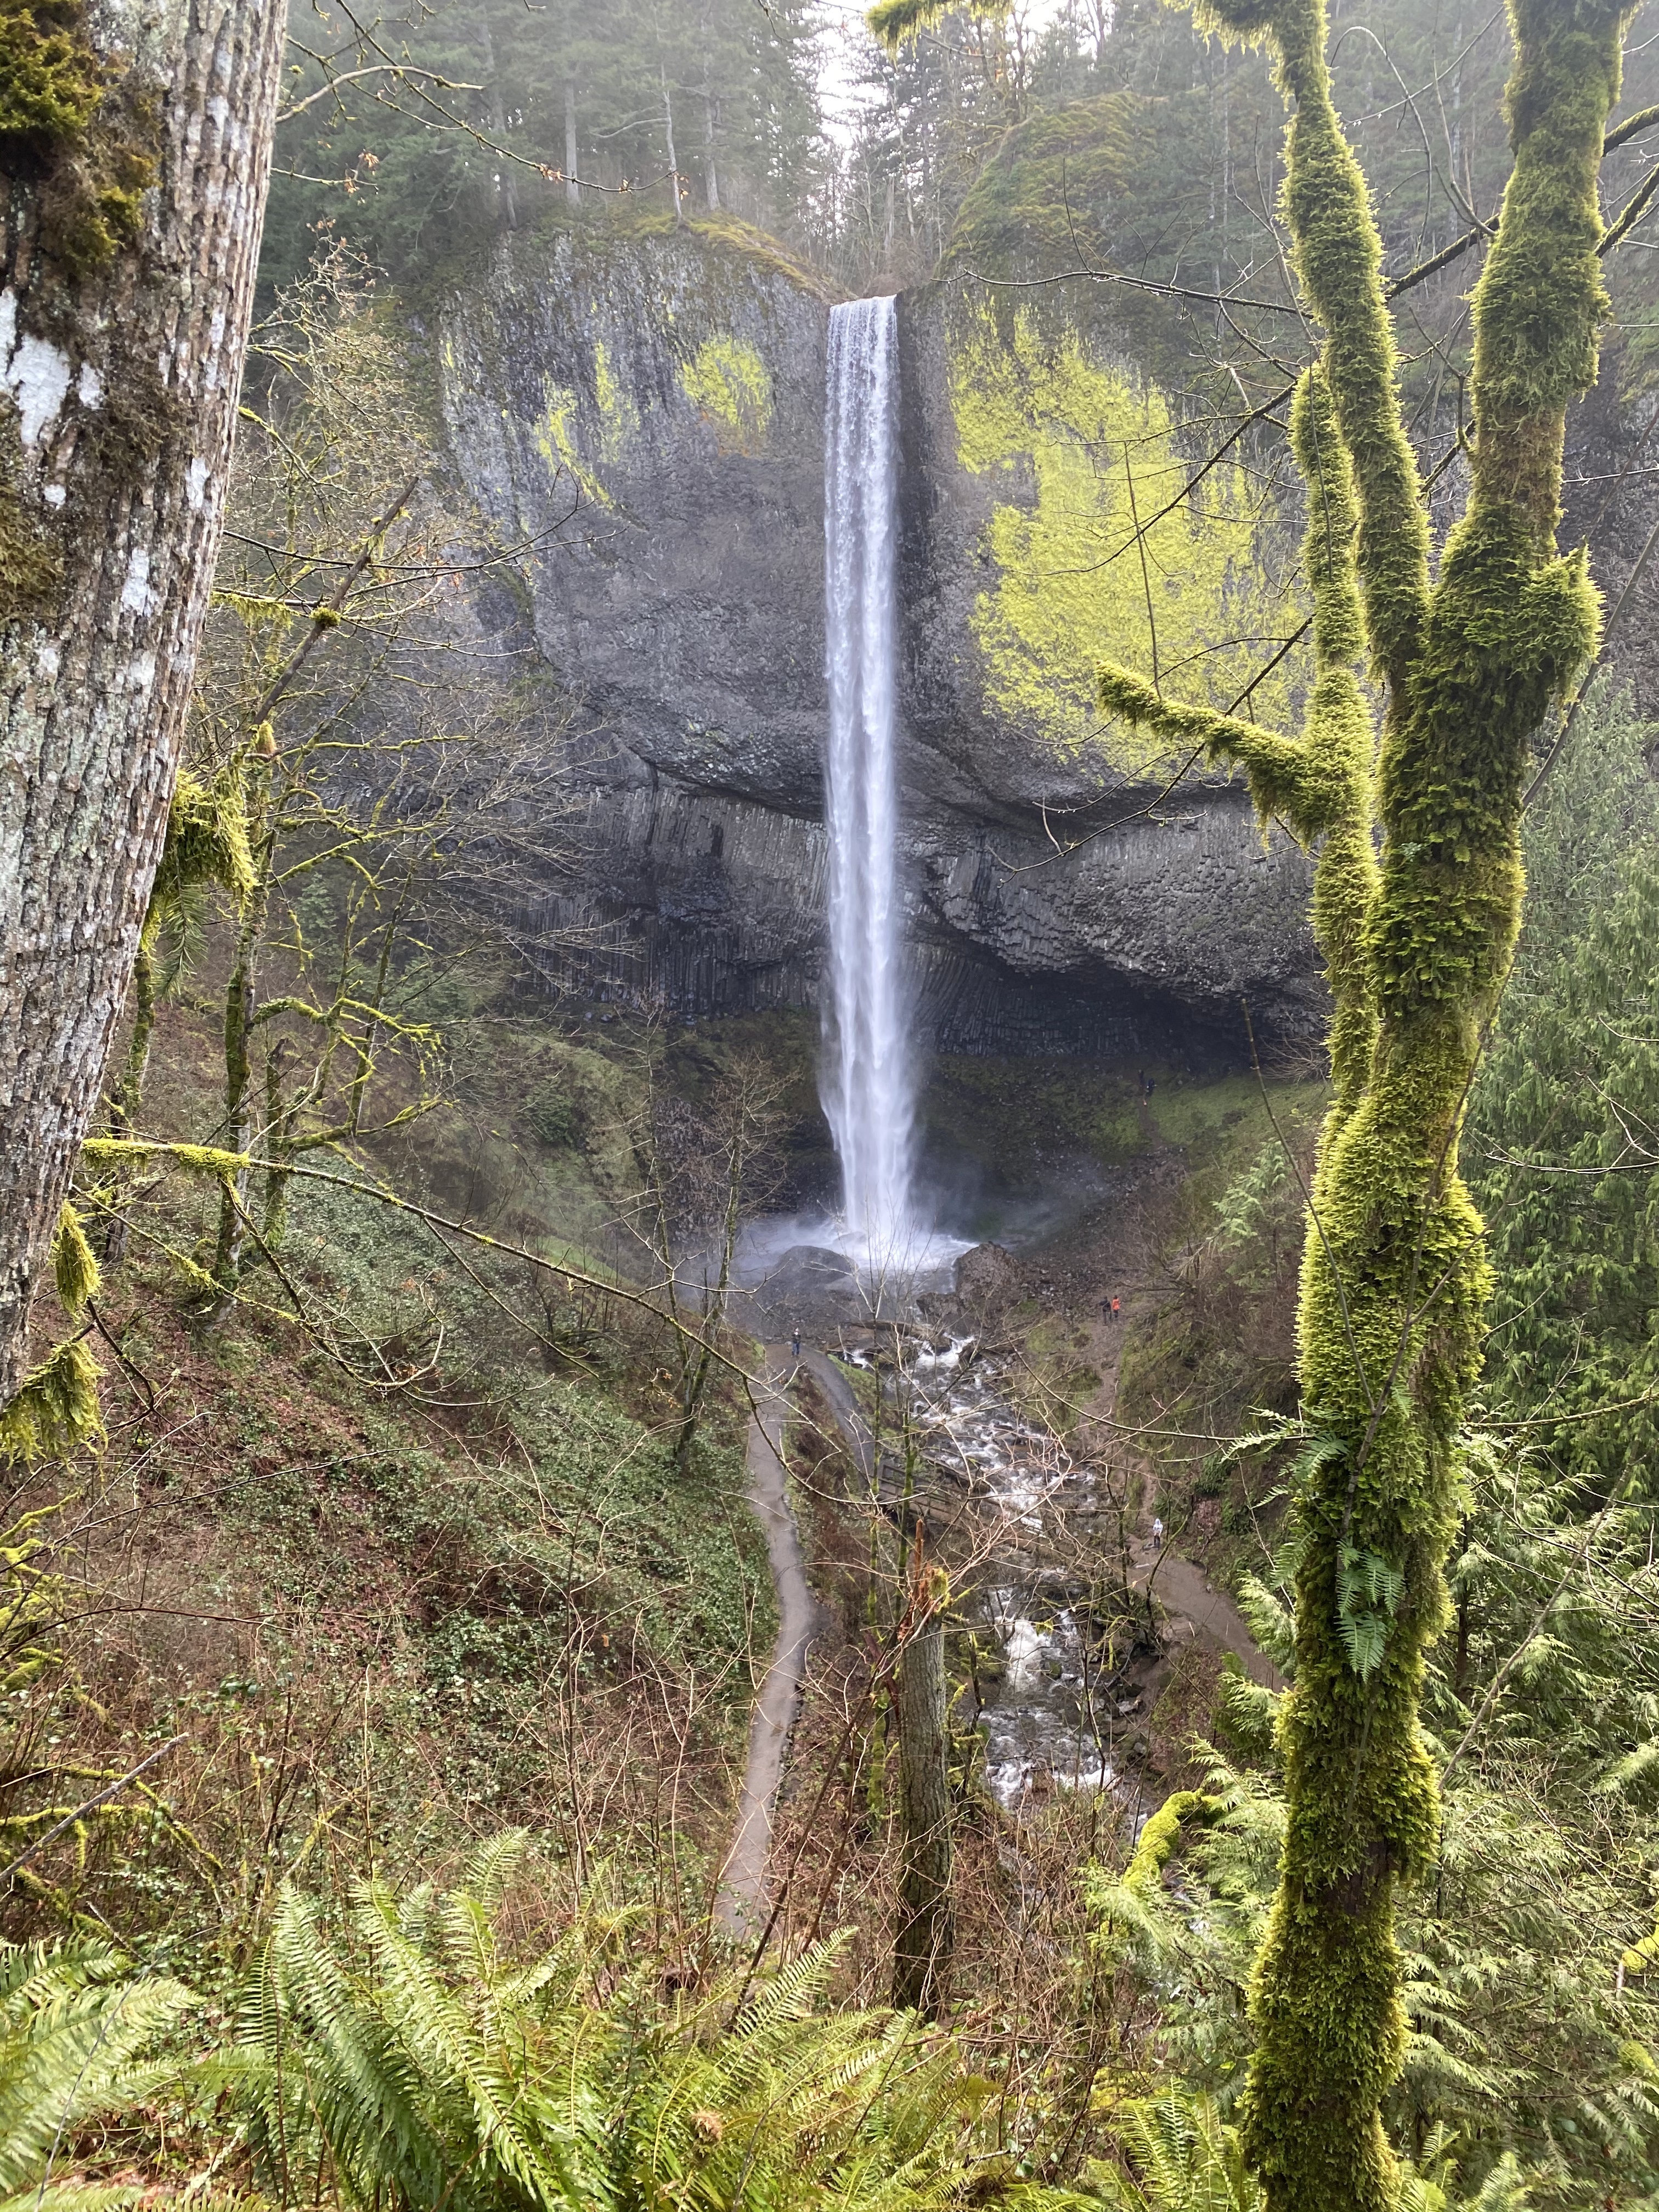
I went and enjoyed these beautiful falls with my best friend, Blake. It was the first hike I did as an official resident of the PNW again, and the perfect start to what I hope is a beautiful outdoor experience here. When we pulled up I snapped a picture of the map that was easily visible at the trailhead and we set off heading to the right, down to the base of the lower falls. It looked like we chose the less busy direction as most people head to the left up to the top of the lower falls and continuing from there to the upper falls. I noticed very few people completing the full loop, most choosing the quickest way to the falls and retracing their steps. This left us a nice empty trail on the right side of the loop despite the busy trailhead.

Columbia River Gorge (view point)

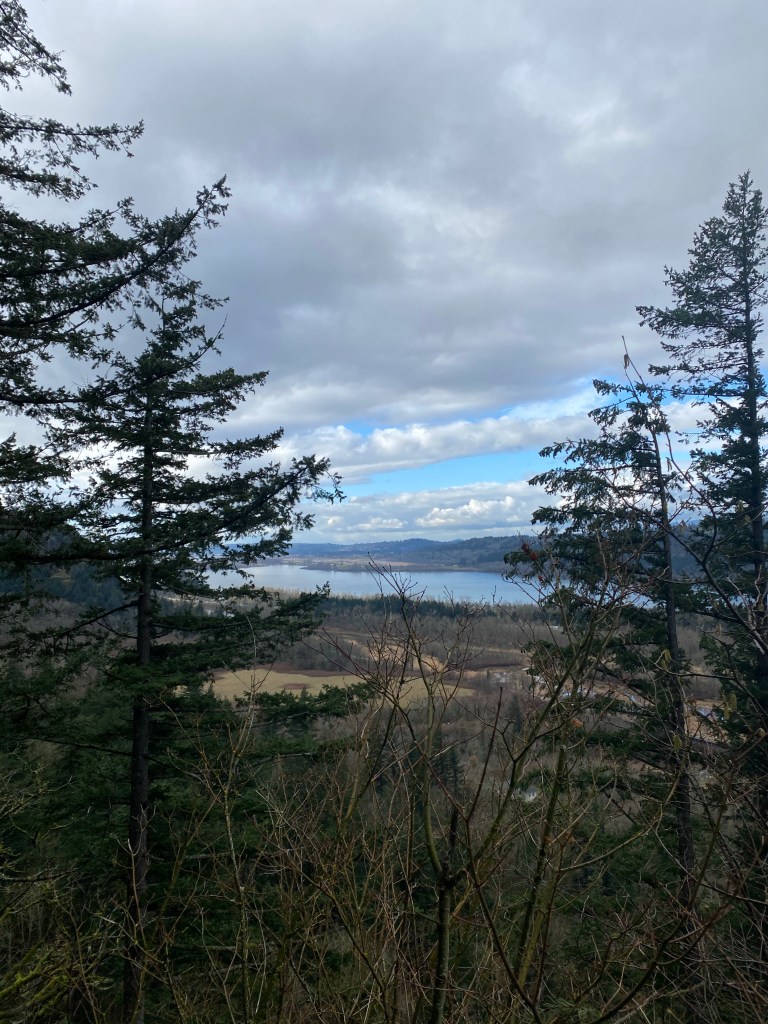
Once you leave the lower falls viewpoint you will cross under the bridge and come across the picnic area (for rent, see preparation section above) before climbing back up the road. Once you cross the road you will continue your uphill ascent. After about 20-30 minutes and a couple of switch backs you reach a beautiful viewpoint of the gorge. It was a great place to stop and catch our breath . The weather cleared up to blue sky just for us and opened up to a beautiful view, before raining again as soon as we left to continue our journey.

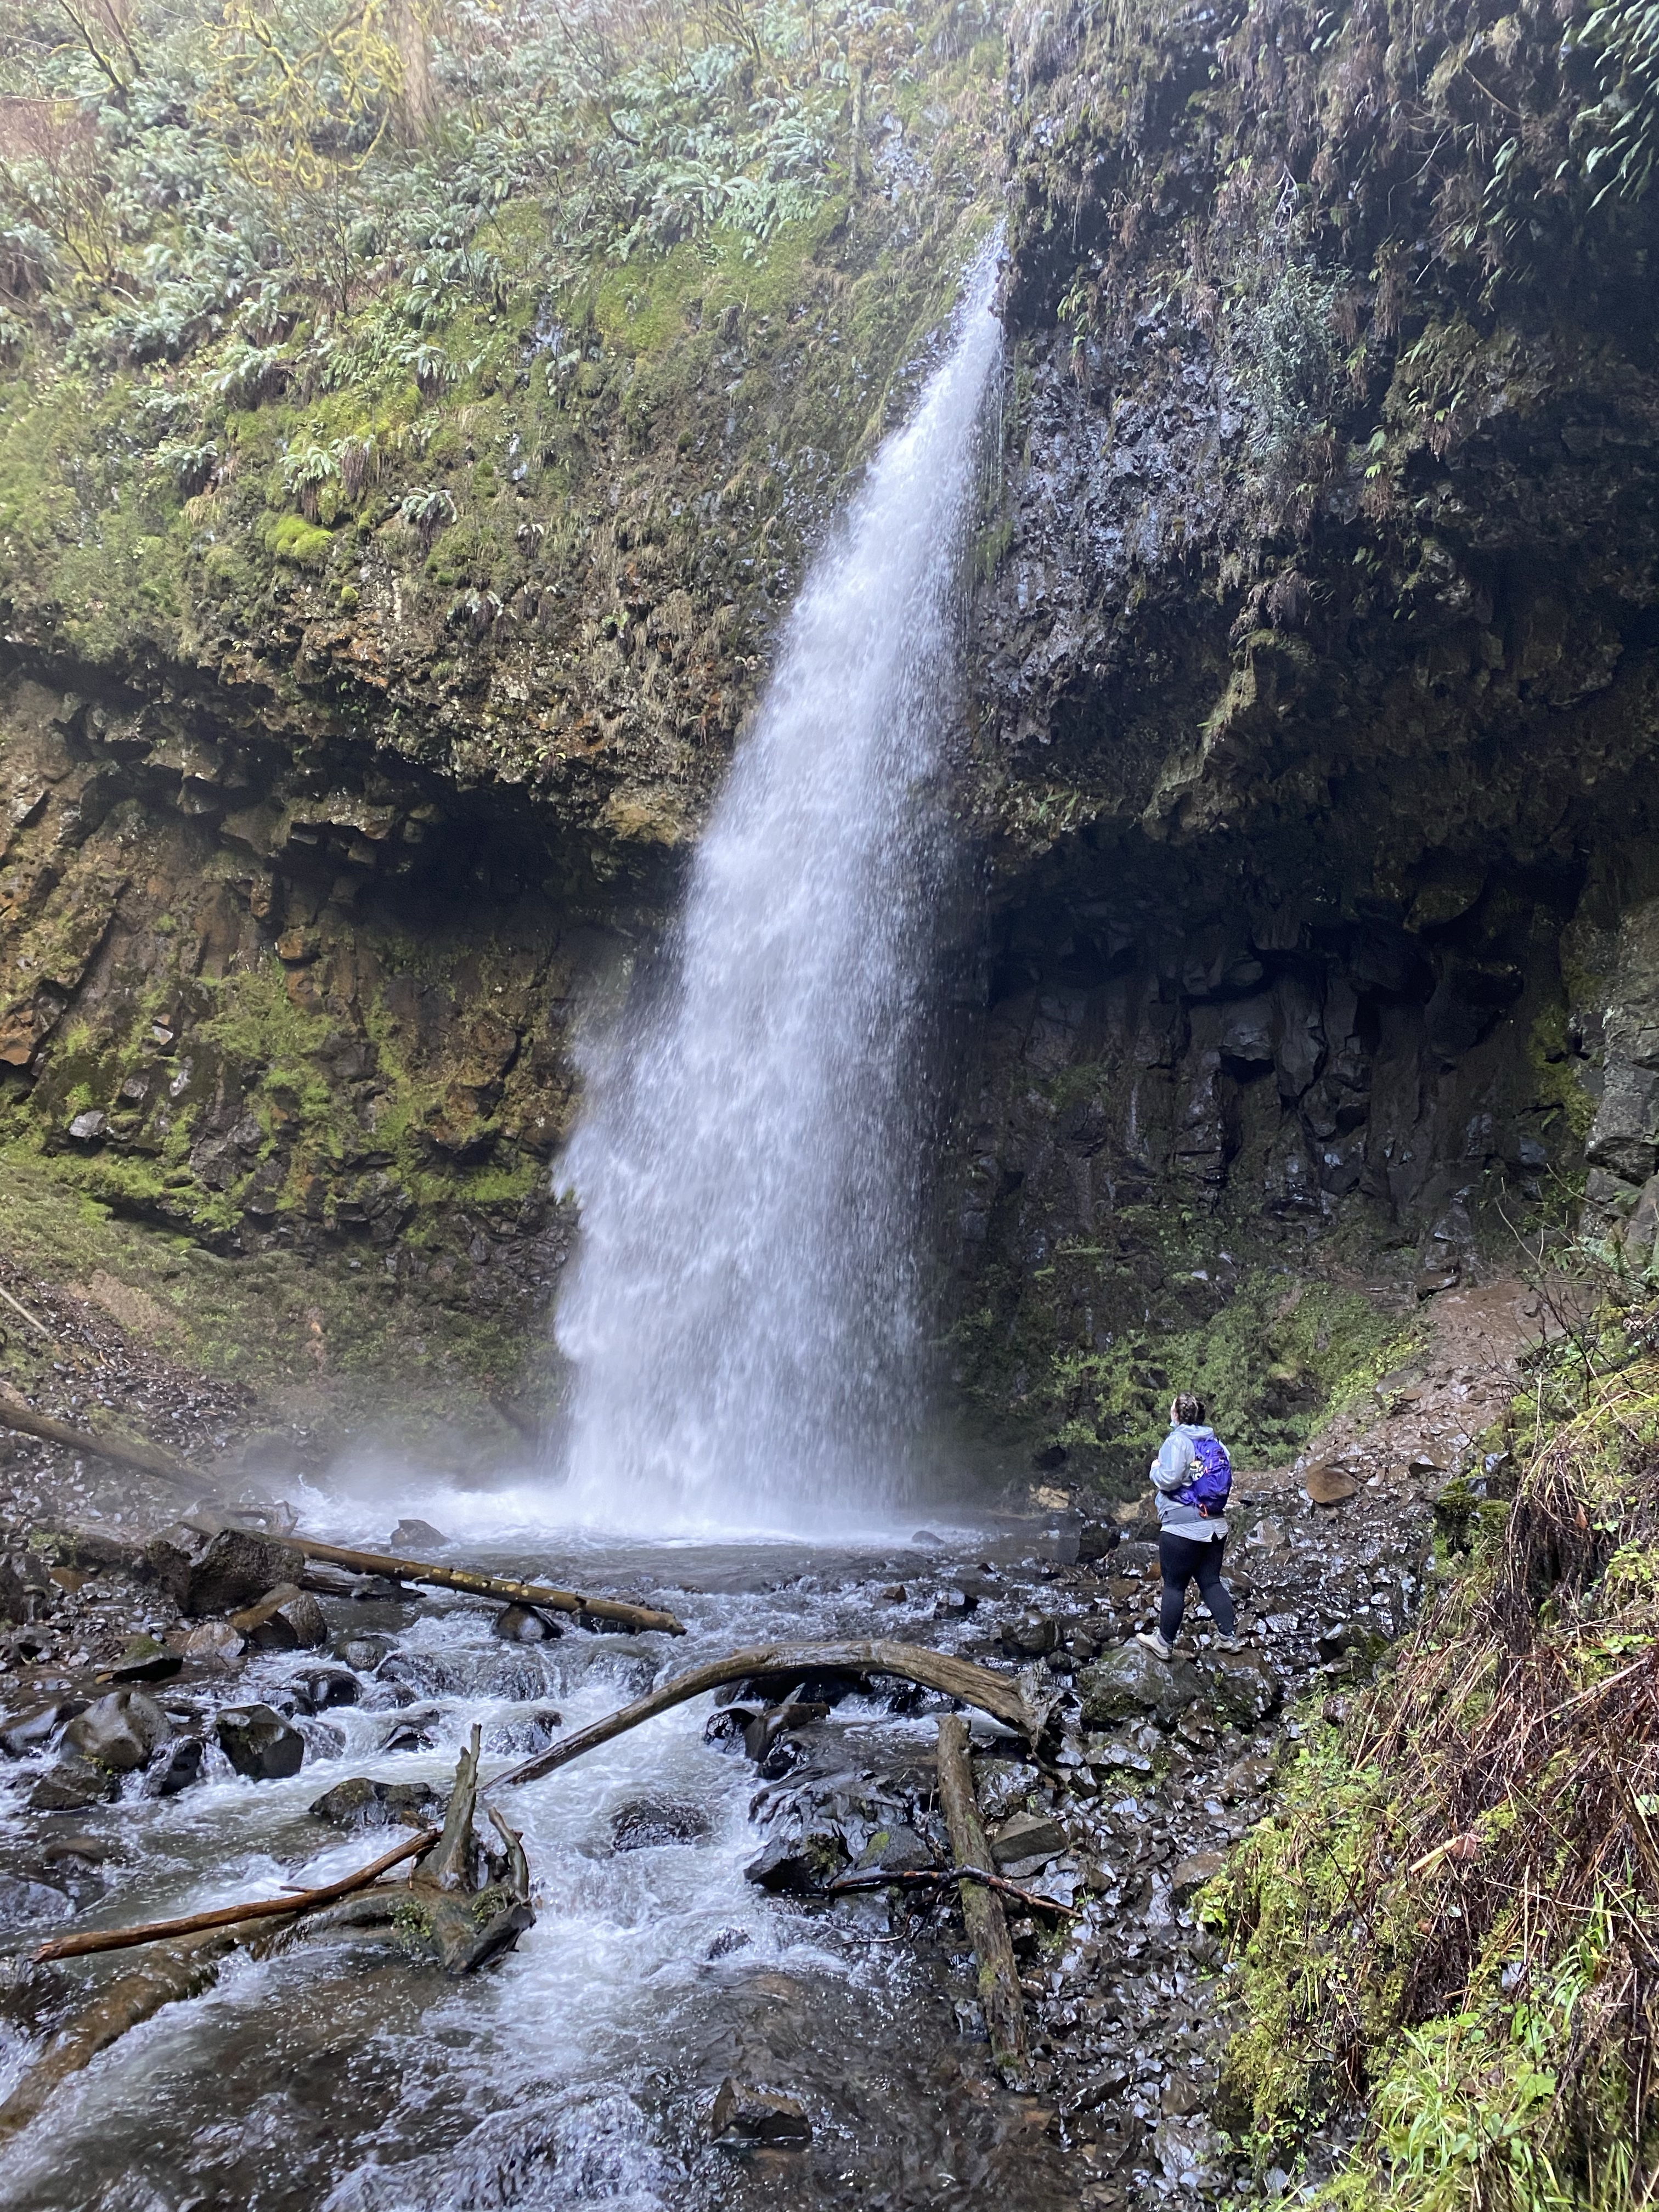
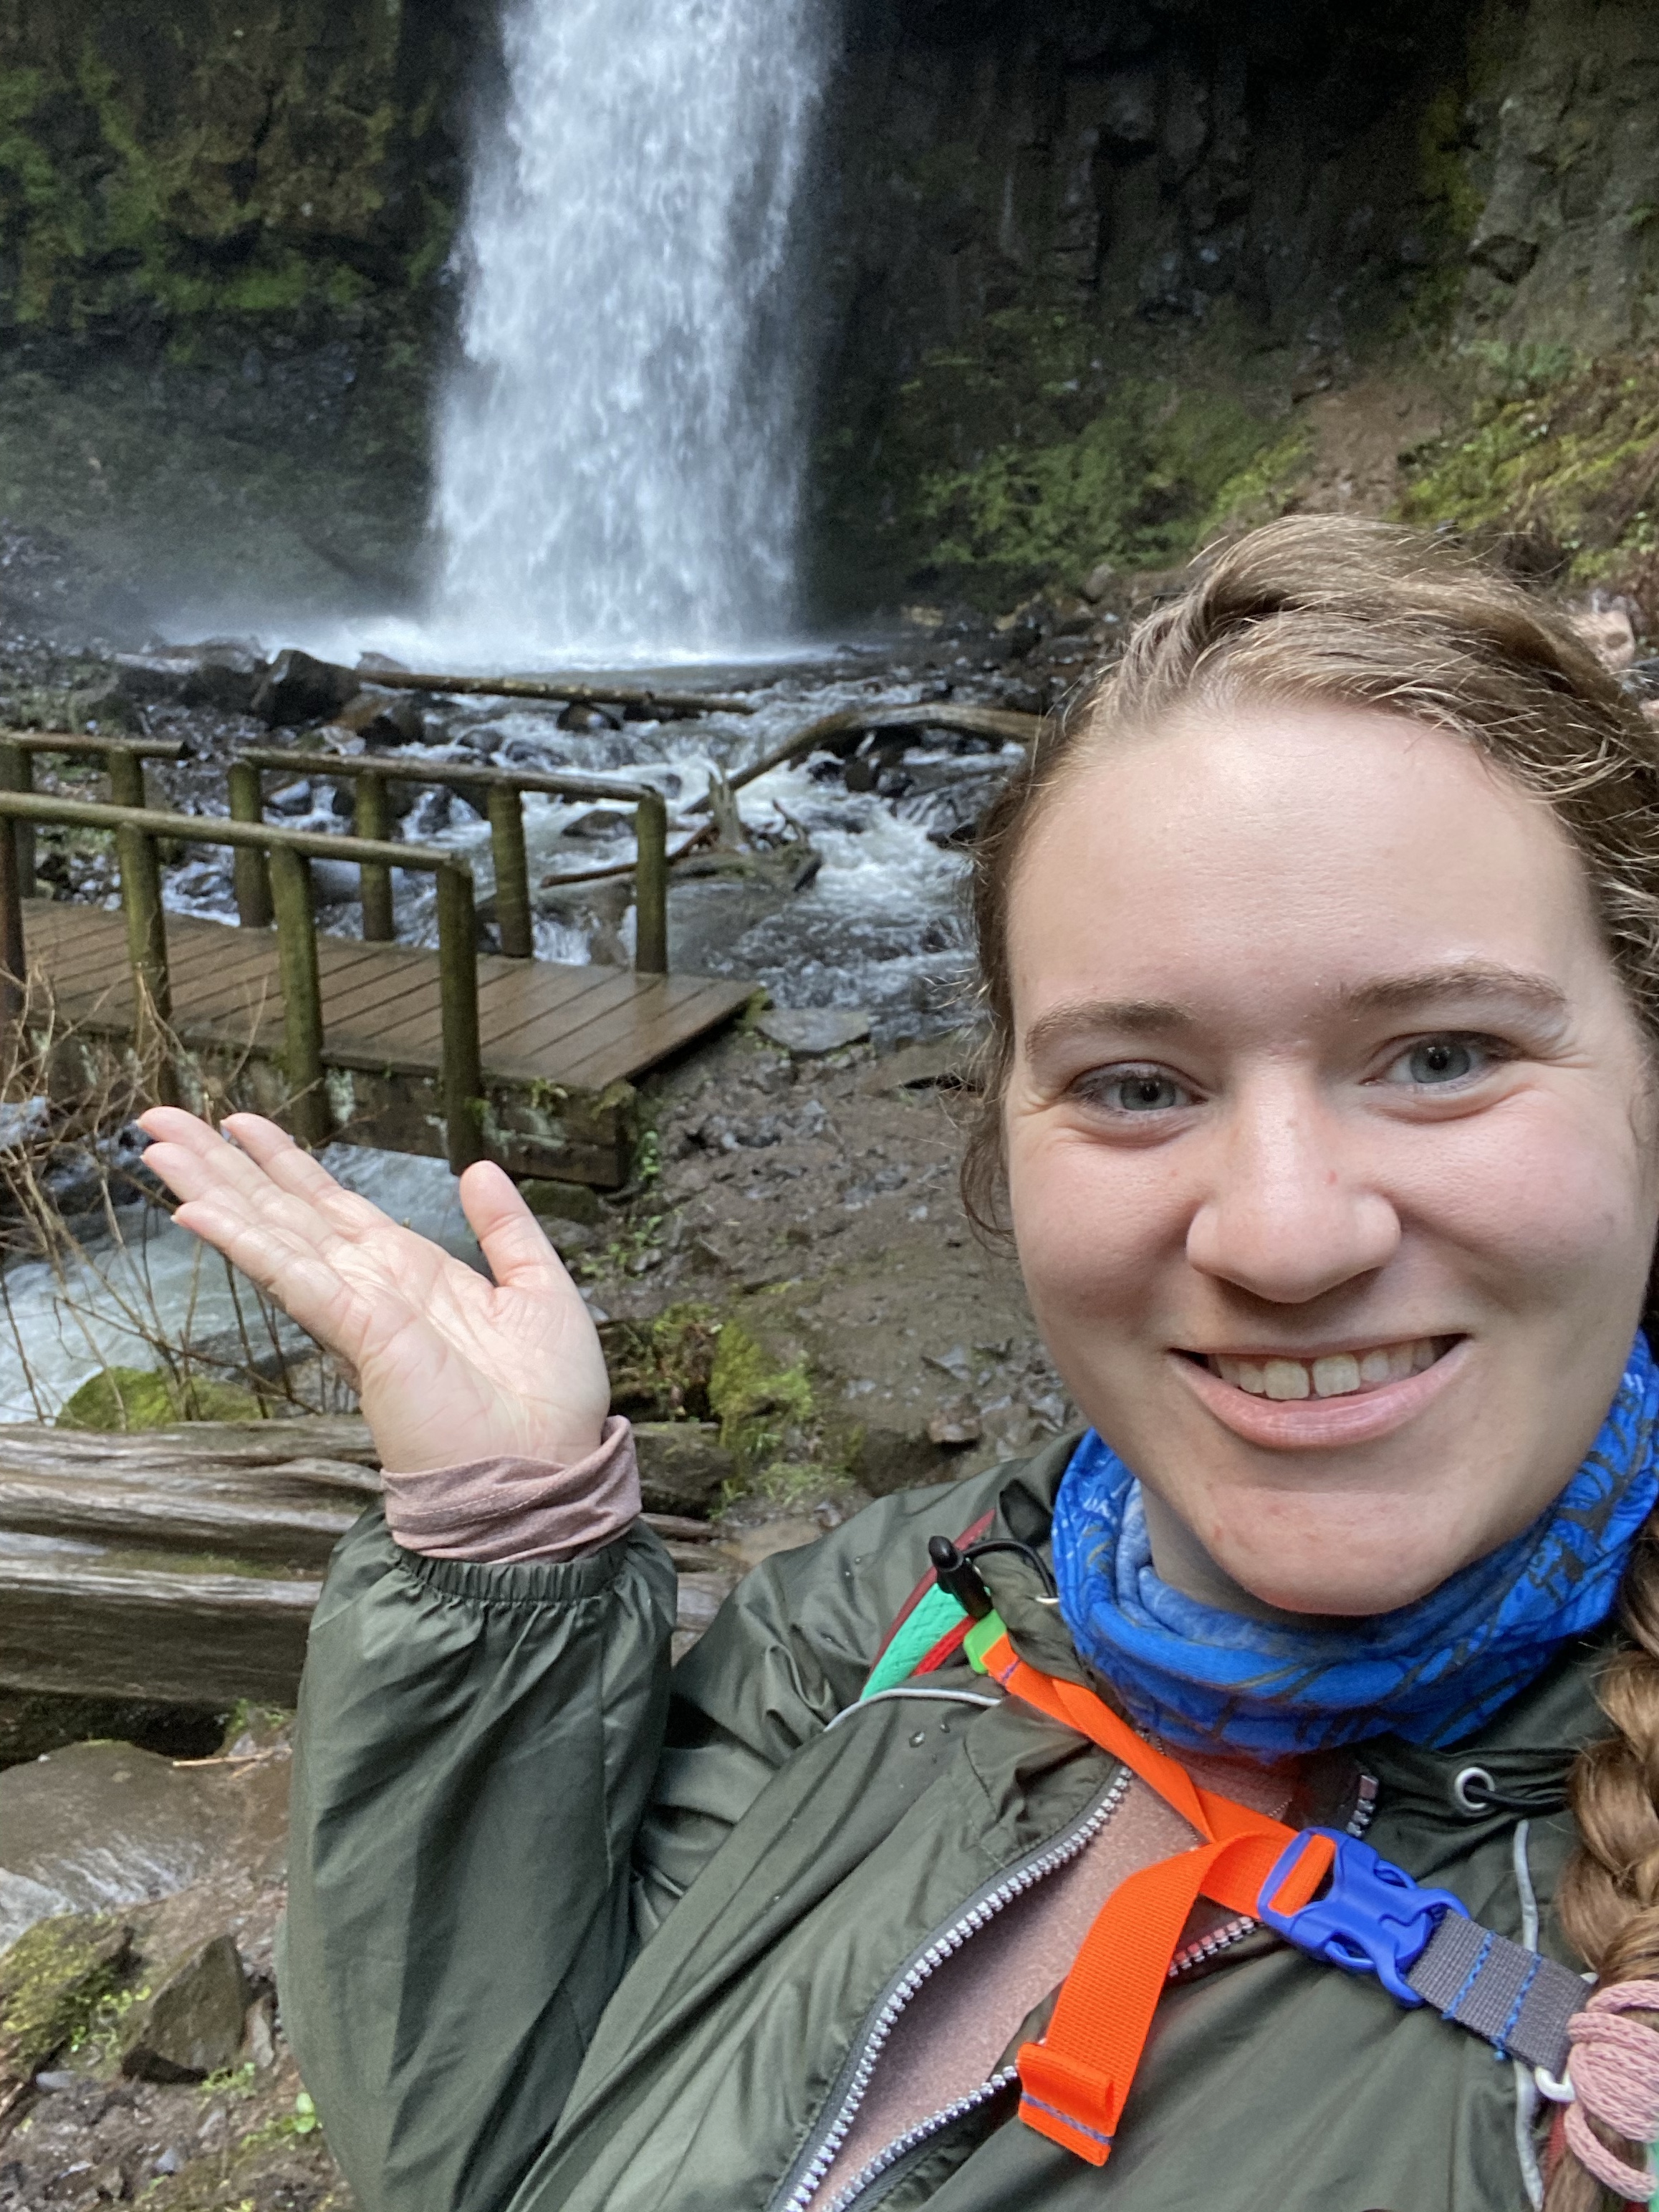
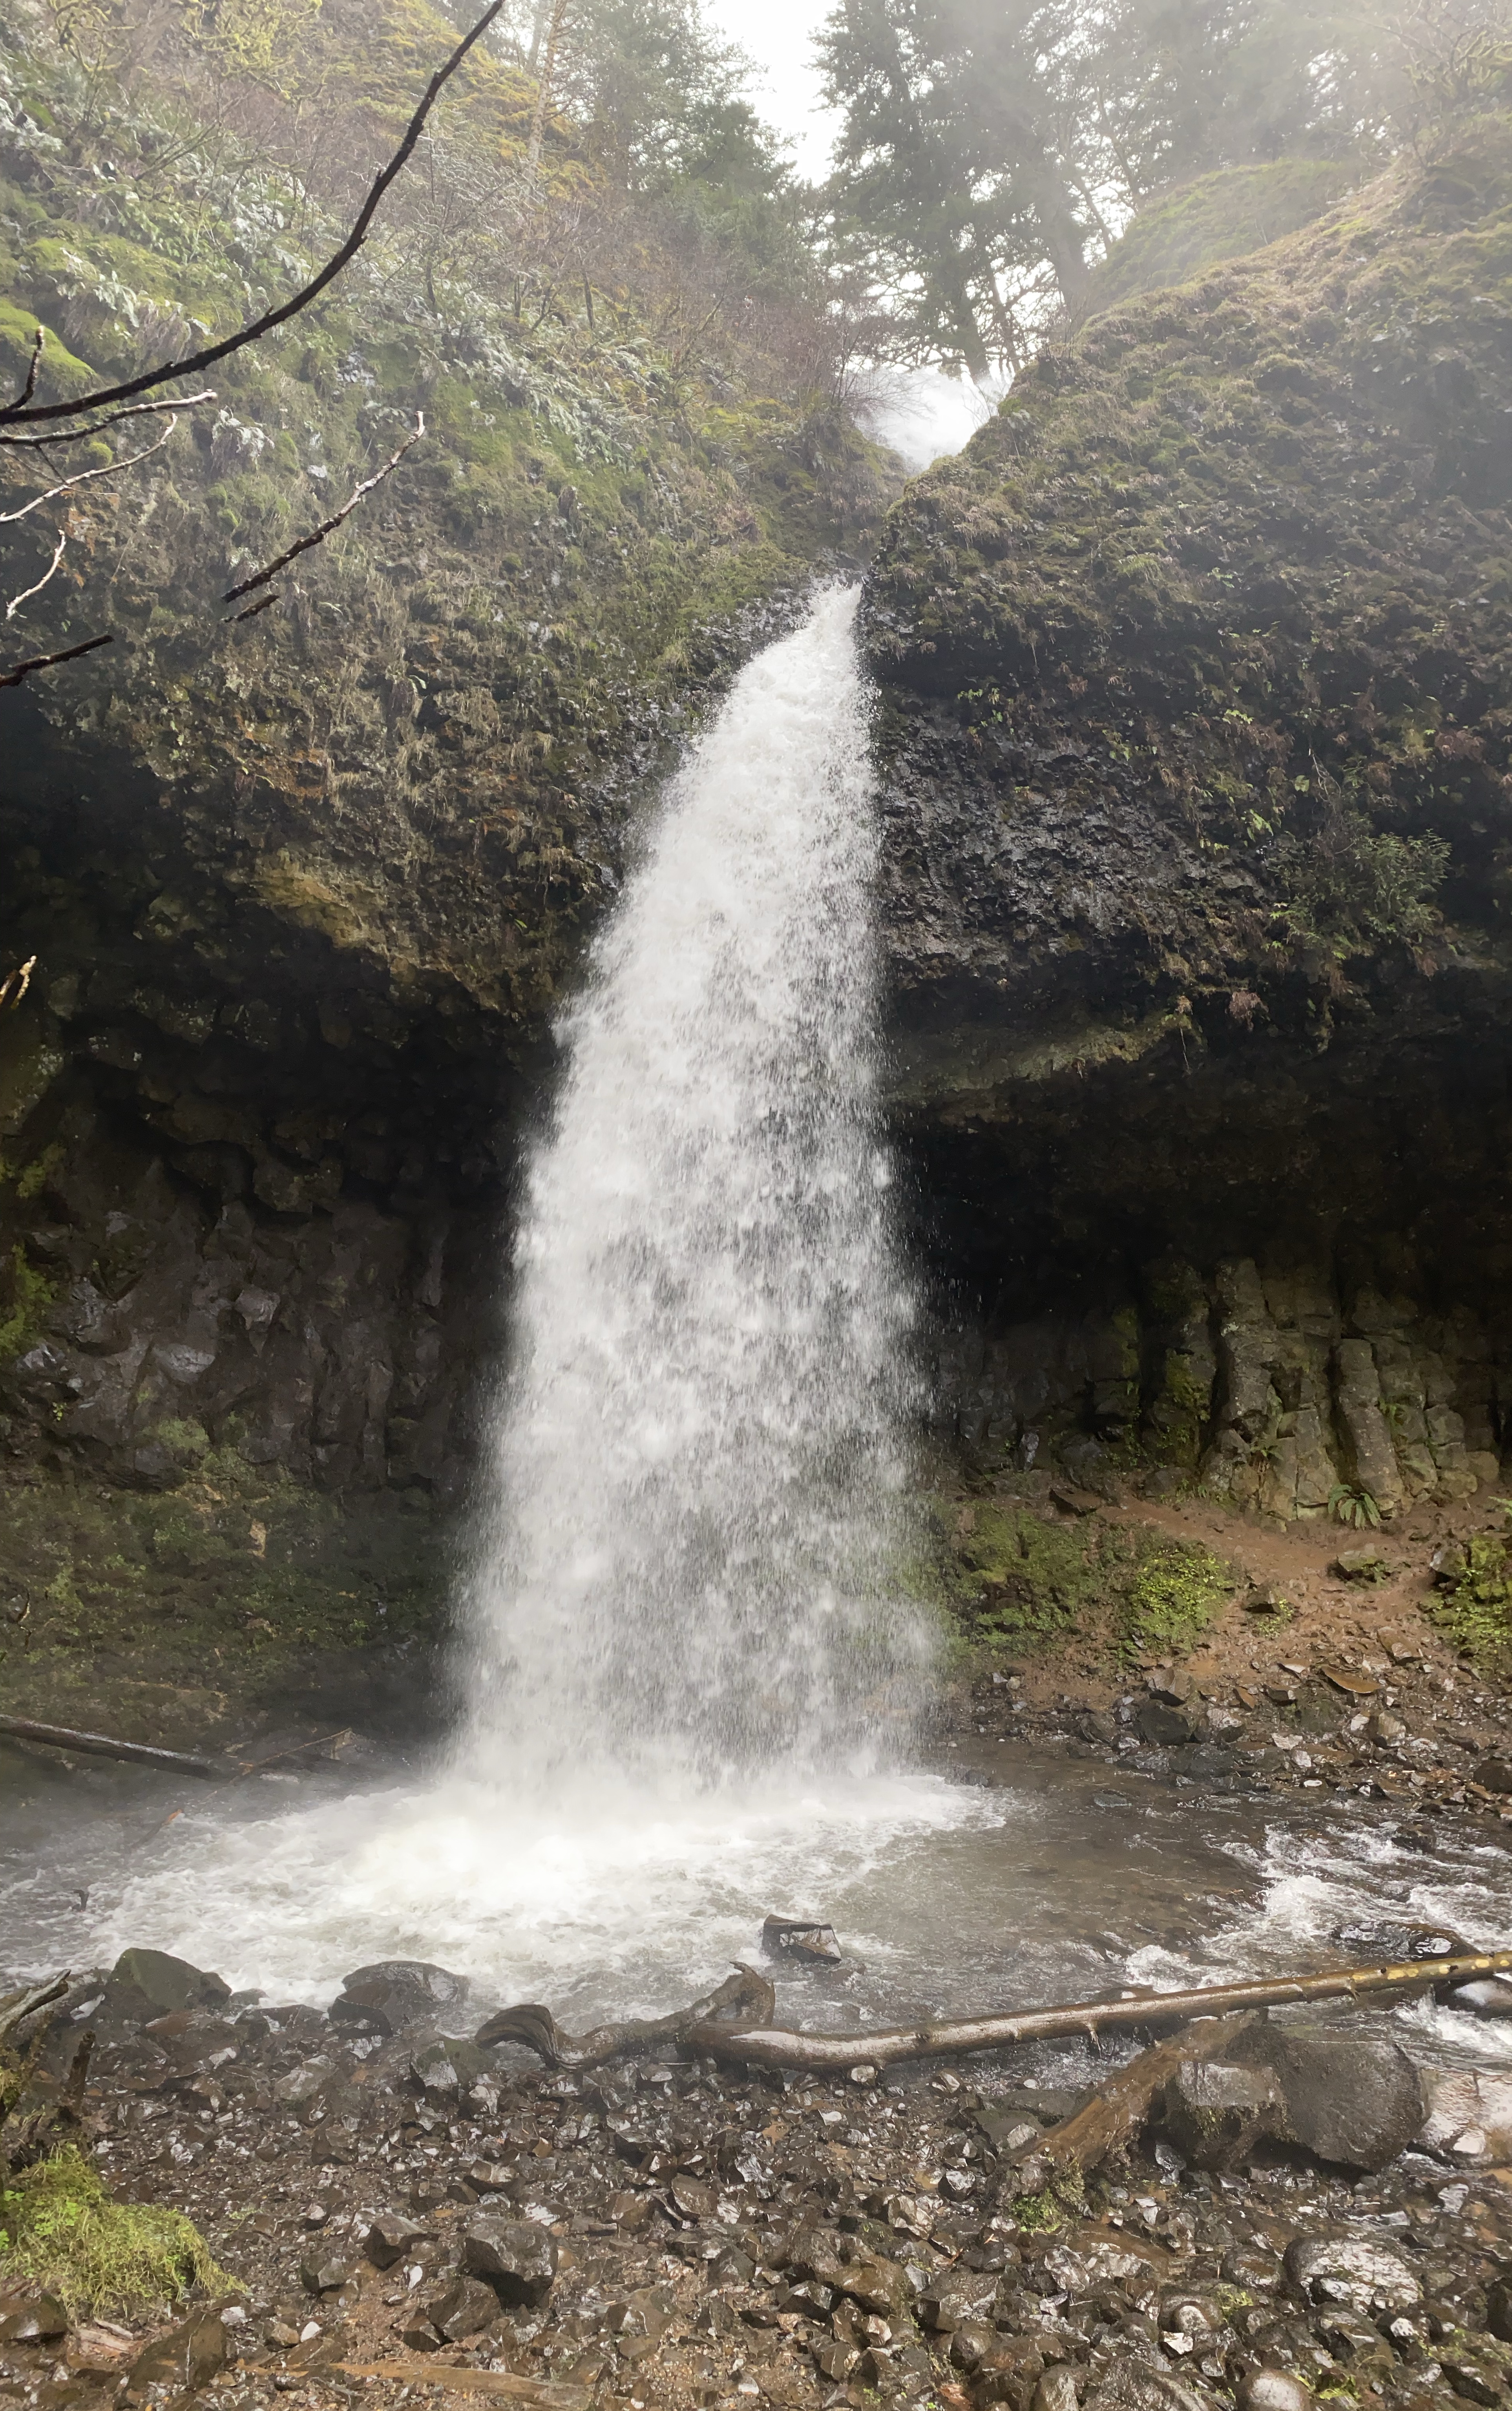
Soon you will come parallel to the river and even be able to see the trail on the other side. Follow along the river to the upper falls. There’s enough of a path you can get up along side the falls (but not underneath it) if you want to rest and explore the site from a different angle. We did this hike in early February, and it had been raining so not only was it muddy (be careful!), the water was also a lot higher compared to the summer months (according to my hiking partner Blake who had done this hike before!). Once you get your fill cross a small bridge and then continue back on the other side of the river. Most of this will be a decent.

Close to the end of the trail you will reach the overlook at the top of the lower falls, there is a bench here if you wanted a longer pause before finishing. Then itss a short steep jaunt back to the beginning of the trail. At the beginning of the trail head, on this side, is an additional deck built out overlook for another angle on the falls.

Just come for Latourell Falls or make a day of it and visit the others nearby too! On the same road you will find the trailhead for Bridal Veil Falls, Coopley Falls, Wahkeena Falls, before reaching the infamous Multnomah Falls. All within 22 minutes of each other. Besides for Multnomah which I haven’t been to in over a decade these are all new to me, I will be covering all of these in the upcoming months. If there is any you would like for me to cover first please shoot me a message!

Waterfalls in Depth:

The falls were named after Joseph Latourell, who was prominent settler from the area. The Talbot Family then owed the Falls and are around it and in 1929 gave it to the state of Oregon. Hence the name of the State Park.

The Upper Fall is double tiered, and 134 feet of falling water. The Lower Falls is actually the largest of the two at 225 feet.

Happy Roaming!

Big Foot Trap

Location: Big Foot Trap (Collings Mtn. Trail), Rogue River-Siskiyou National Forest

Difficulty: Easy

Distance: < 3/4s of a mile. If you can get a spot at the trailhead it is only about half a mile. Otherwise park at the Hart-tish Park parking lot and it will be ¾ of a mile. (see parking).

Elevation: 300 feet.

Cost: $5 for day use at Hart-tish Park parking lot. I got away with parking at the trail head for free but I would recommend bringing the cash.

Parking: There are roughly two spots on the side of the road for this trailhead. Otherwise parking is available across the road at Hart-tish Park (see cost for fees).

Directions: I-5 exit 30. Hwy 62 turns into Hwy 238 and follow 13.5 miles. At the town of turn left onto Applegate Rd. At 15.5 miles you can turn left into Hart-tish Park or the trailhead will be a few more feet up on the right hand side.

Preparation:

  • Sunscreen. It is pretty covered with tree’s, but sunscreen is always a good idea.
  • Water. No water at trailhead. May be some available at the park but I didn’t use it. Always better to come over prepared than under.  
  • Bathroom. There is a rest stop with a pit toilet roughly half a mile before the trailhead or one available if you pay to park at Hart-tish day use area.  

Experience:

The trail is pretty much off by itself in the forest. There is a good trail head sign visible from the road (see picture above) that has a foot print telling you that you are in the right place. You start by cresting a tiny flat mound between the road and the trail, then it quickly shifts downhill hiding you immediately from the view of the road. After only a hundred feet or so the trail splits between hiker and horse access. You will cross through a wooden barricade and start a semi steep descent. Less than five minutes into the trail you cross an incredibly unique footbridge that crosses a creek. When I went (early summer) there was no water, but I would assume in the wetter seasons this footbridge would be helpful to keep you dry.  Shortly after at about a quarter mile there is a wooden bridge.

On my first pass to park at the trailhead there were forestry services parked and I assume doing trail maintenance. The trail was extremely clear the whole time. I am also assuming/hoping the several arrows hand drawn into the dirt were communication between a trail maintenance crew. Otherwise it was extremely eerie to be down this trail by yourself not knowing when the last person hiked through, following crude arrows in the dirt…

I did follow them, however, and was rewarded with my prize. Towards the last bit of trail, it forked into what felt like two very defined trails. I almost went down the wrong one when I noticed the arrow in the ground pointing to the very left trail option. I followed it and was rewarded with a creepy smiley spray painted on a cut tree that passed over the trail. In retrospect it is not creepy but when you are alone, surrounded by forest, walking towards a big foot trap; Everything seems creepy. Later I saw that the right fork of the trail is a short jaunt to a demolished/decayed minor’s cabin. I will have to explore next time!

Up the hill on the left fork is the trap!  In a nice open space with a giant steel gate is the big foot trap. Thankfully, bigfoot was not there when I got to the clearing. It has been spray painted throughout the years and was remarkably still very sturdy. Although it would be no match for Big foot!

Big Foot History:

The Big Foot trap was first created in 1974 by the North American Wildlife Research Team. Which is no longer an organization. They tried for 6 years to trap Big Foot, baiting the trap with carcasses but all they ever caught was beers. The structure is 10 by 10 feet and made with 2×12 planks, combined with heavy metal straps, and fastened to the ground by telephone poles. In 1980 the door the was bolted open for good. It is now a tourist attraction and maintained by the United States Forest Service.

Full Trail Specs:

The Big Foot Trap is part of the Collings Mtn Trail

The trail continues past the trap and increases elevation rapidly up to the ridgeline before taking you along the western edge of Collings Mountain. It will drop you into Watkins campground. If want to do the whole thing find the additional info below!

Difficulty: Moderate/Hard

Distance: 7 miles one way.

Elevation: 1000 feet.

Extra Trail:

There is an easy flat half mile (one way) trail between the Hart-tish day use parking lot and a rest stop up the road. It runs along the side of the lake and provides great views for little effort. If you get to the rest stop there is also a short walkway that takes you out into the lake and gives a nice view of the dam.

Until next time, Happy Roaming!